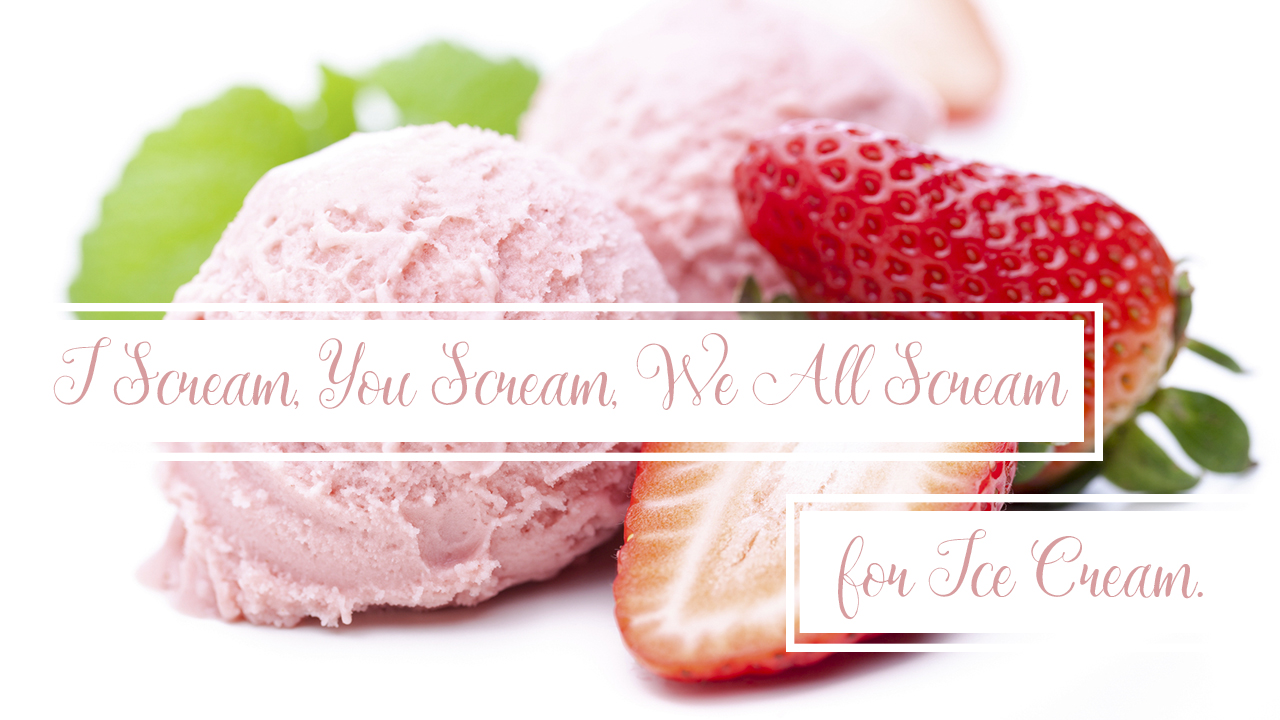
Looking back into their childhood, many people will remember sitting on a porch, cranking away on a hand-churn ice cream maker…eagerly awaiting a frozen summer treat…filled with fresh strawberries or peaches! Others will recall the roar of a motor as an electric ice cream maker churned away on the counter-top. These type of memories are just the kind of thing that many parents would love to provide for their own family while on vacation on Topsail Island. But who wants to lug an ice cream maker on vacation?
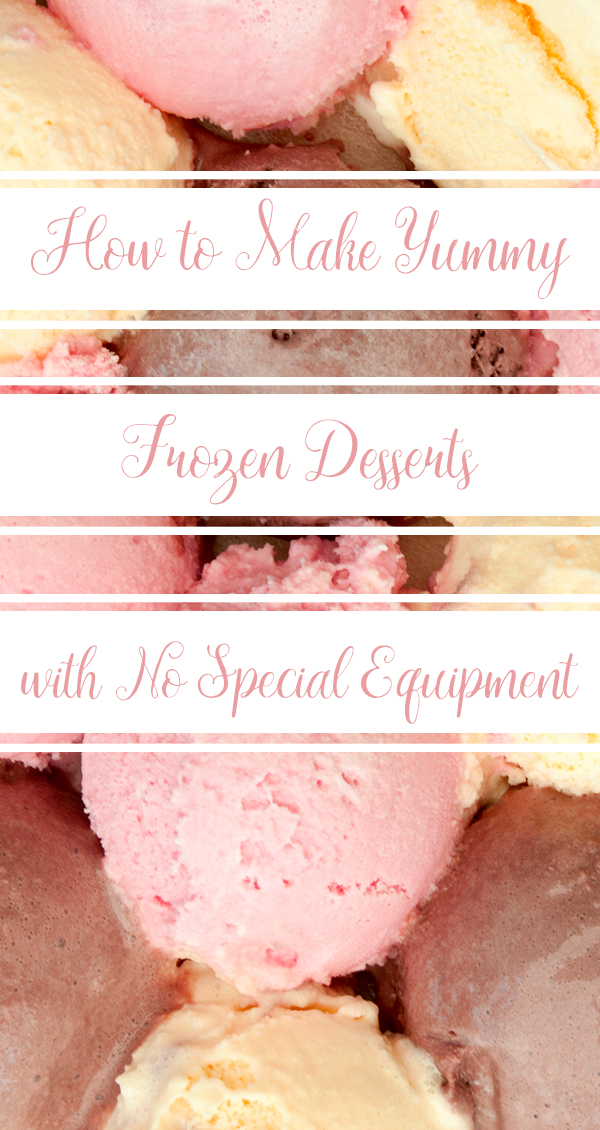
Instead of buying ice cream at one of Topsail Island's grocery stores, and instead of taking up precious cargo space for the sake of a home-made dessert…why not try one of these easy recipes? No special equipment required! Your family will be coming back for creamy seconds once they try these delicious summer iced creams!
Homemade Ice Cream in a Bag, That Will Make You Scream for More
This homemade ice cream experience is easy enough for any member of your family, and is tons of fun. When purchasing your supplies (listed below), please keep in mind that the recipe is for a single serving. You will need to repeat that recipe, including ziplock bags, for each participant. This delicious treat may get a little messy...after all, there is sugar, ice, milk, and shaking involved!! So be sure to be well-armed with a few wet dish clothes!!
Here is what you will need to get started:
Ice
1 cup Half & Half
1/2 cup Kosher salt
2 tablespoons sugar
1/2 teaspoon vanilla extract
1 pint-size ziplock bag
1 gallon-size ziplock bag
Your favorite ice cream toppings and mix-ins (chocolate syrup, whipped cream, crushed cookies, fruit, candy, etc.)
(This recipe make a single serving.)
Step One
In a pint-size bag, combine half & half, sugar and vanilla. To prevent the liquid from leaking out, seal the bag tightly. Double check the seal for any small children!
Step Two
Place the pint-size bag into a gallon-size bag, and generously cover with ice. You will want the the gallon bag almost half filled with ice. Before sealing the larger bag, sprinkle the Kosher salt over the ice. Again, be sure to have a good seal on those zippers!
Step Three
Now it time to shake things up!! Literally! Grab your bag, and shake it for approximately 5-10 minutes. The liquid will begin to solidify, and you will decide how firm you want your personal dessert to be. You can check the firmness by squeezing the pint-size bag. If you want a milk-shake consistency, then you will be done a lot sooner that someone who wants their ice cream rock solid! Once your iced dessert reaches perfection, simply remove the pint-sized bag from the bag of ice.
HINT: If you bag begins to leak, just double bag it.
Step Four
Open your ice cream, and ENJOY!! You can eat straight out of the bag, or you can pour your ice cream into a bowl (ohhh...a waffle cone or bowl would be yummy!!). Add your favorite toppings or mix-ins...and VOILA...a chilled treat for your whole family to enjoy at Topsail Beach!
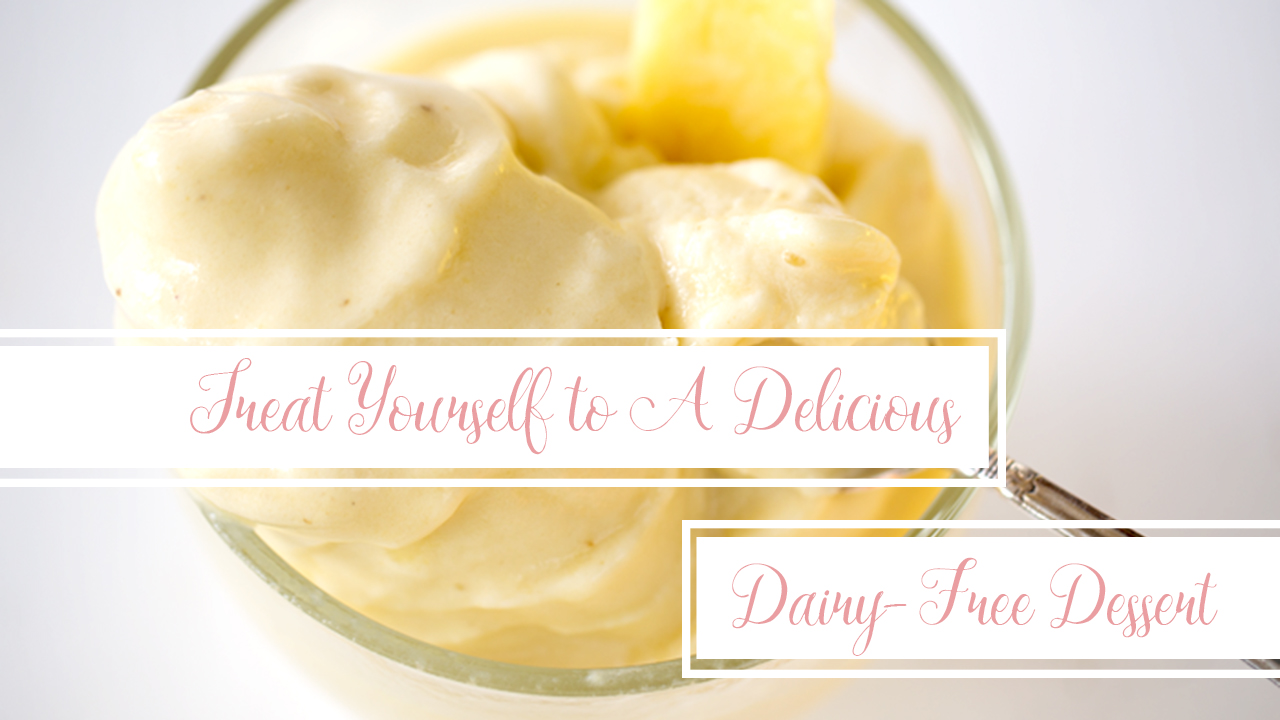
A Frozen Pineapple Treat that will Blow Your Mind
Nobody wants a brain freeze...but everyone will want a dish of this deliciousness. If you have ever had the pleasure of visiting the pineapple fields in Hawaii, then surely you would have stopped to purchase one of their fresh Pineapple Whip Desserts! This is also a favorite treat for visitors at Disney! This summer, if your family is indulging in the beauty of Topsail Island, North Carolina...then why not bring your own little slice of fruity paradise. And what's even better...this whipped dessert is VEGAN!
You will need a blender to whip up this recipe, but that would be a standard piece of kitchen-ware in your
vacation rental home.
Here is what you will need to get started:
A high-speed blender
2 cups of frozen ripe pineapple (slice & freeze your own is best, or buy pre-frozen)
1 frozen banana
1/2-1 cup of non-daily milk (coconut, almond, soy milk...not low-fat)
Step One
Place pineapple, banana and 1/2 cup of non-dairy milk into the blender. Secure lid, and start blending on low...gradually increasing speed to high. Blend until creamy perfection, adding small amounts of the milk as needed to blend smoothly.
Step Two
Pour your whipped mixture into a fun serving bowl, and garnish with a slice of fresh pineapple. Many blenders will have a serving spout, so you may be able to serve your dessert like soft-serve ice cream. If you looking to add another layer of flavor and fun...make yours into a pineapple whip float! Swirl your treat into a cup, then pour on a little pineapple juice! Yummy!
Step Three
ENJOY! Remember...go slow...no one wants a brain freeze!
While these two recipes are certainly delicious, they can also be a fantastic summer education project for your children. Measuring, fractions, liquids vs. solids, geography (Hawaii)...you get the idea! So why not sneak a little learning into the mix? Speaking of mix? What is your favorite ice cream topping and mix-ins? Are you more of a chocolate and peanut butter kind of person...or do you prefer fruit and nuts? Folks can be very passionate about their frozen desserts...so join in the great debate, and tell us how you like your ice cream!
And if you are out and about on Topsail Island, and are craving a cold treat on a hot summer day...then stop by
The Daily Grind in Surf City. Do you have a favorite ice cream spot on the island? Tell us about it in the comments.